When coming into your slip to dock, do questions like this race through your mind?
- What if I miss the cleat?
- What if I drop the line?
- What if I can’t reach the cleat on the dock?
For a high percentage of boaters, the last few feet when docking cause anxiety, panic and fear.
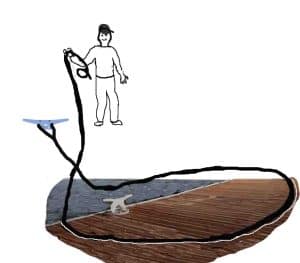
Looping the line around the dock cleat is a critical part of every docking on calm days, but more importantly on windy days.
Knowing how to throw the line around the cleat and doing it, will put your whole body at ease, so you can enjoy the docking procedure.
Ideally First Mates and Captains need to be able to throw a stern line from the cockpit over a dock cleat and nail it—The first time, every time. Once secured, there is no need for panic or fear.
Depending on the dock layout, you may vary whether you need the first line to be attached to the stern cleat, the spring line cleat or the bow cleat. Regardless which cleat, the person throwing this line must do it right—Every toss. If not, you can abort and try again. To determine which cleat to use, see Boat Docking lessons that explain which cleat and why.
Below, I have outlined a procedure to toss a line and lasso the dock cleat. This procedure should be practiced at the dock when the boat isn’t moving, Here you can concentrate on the tossing of the line until perfected.
Line tossing tips to lasso a dock cleat
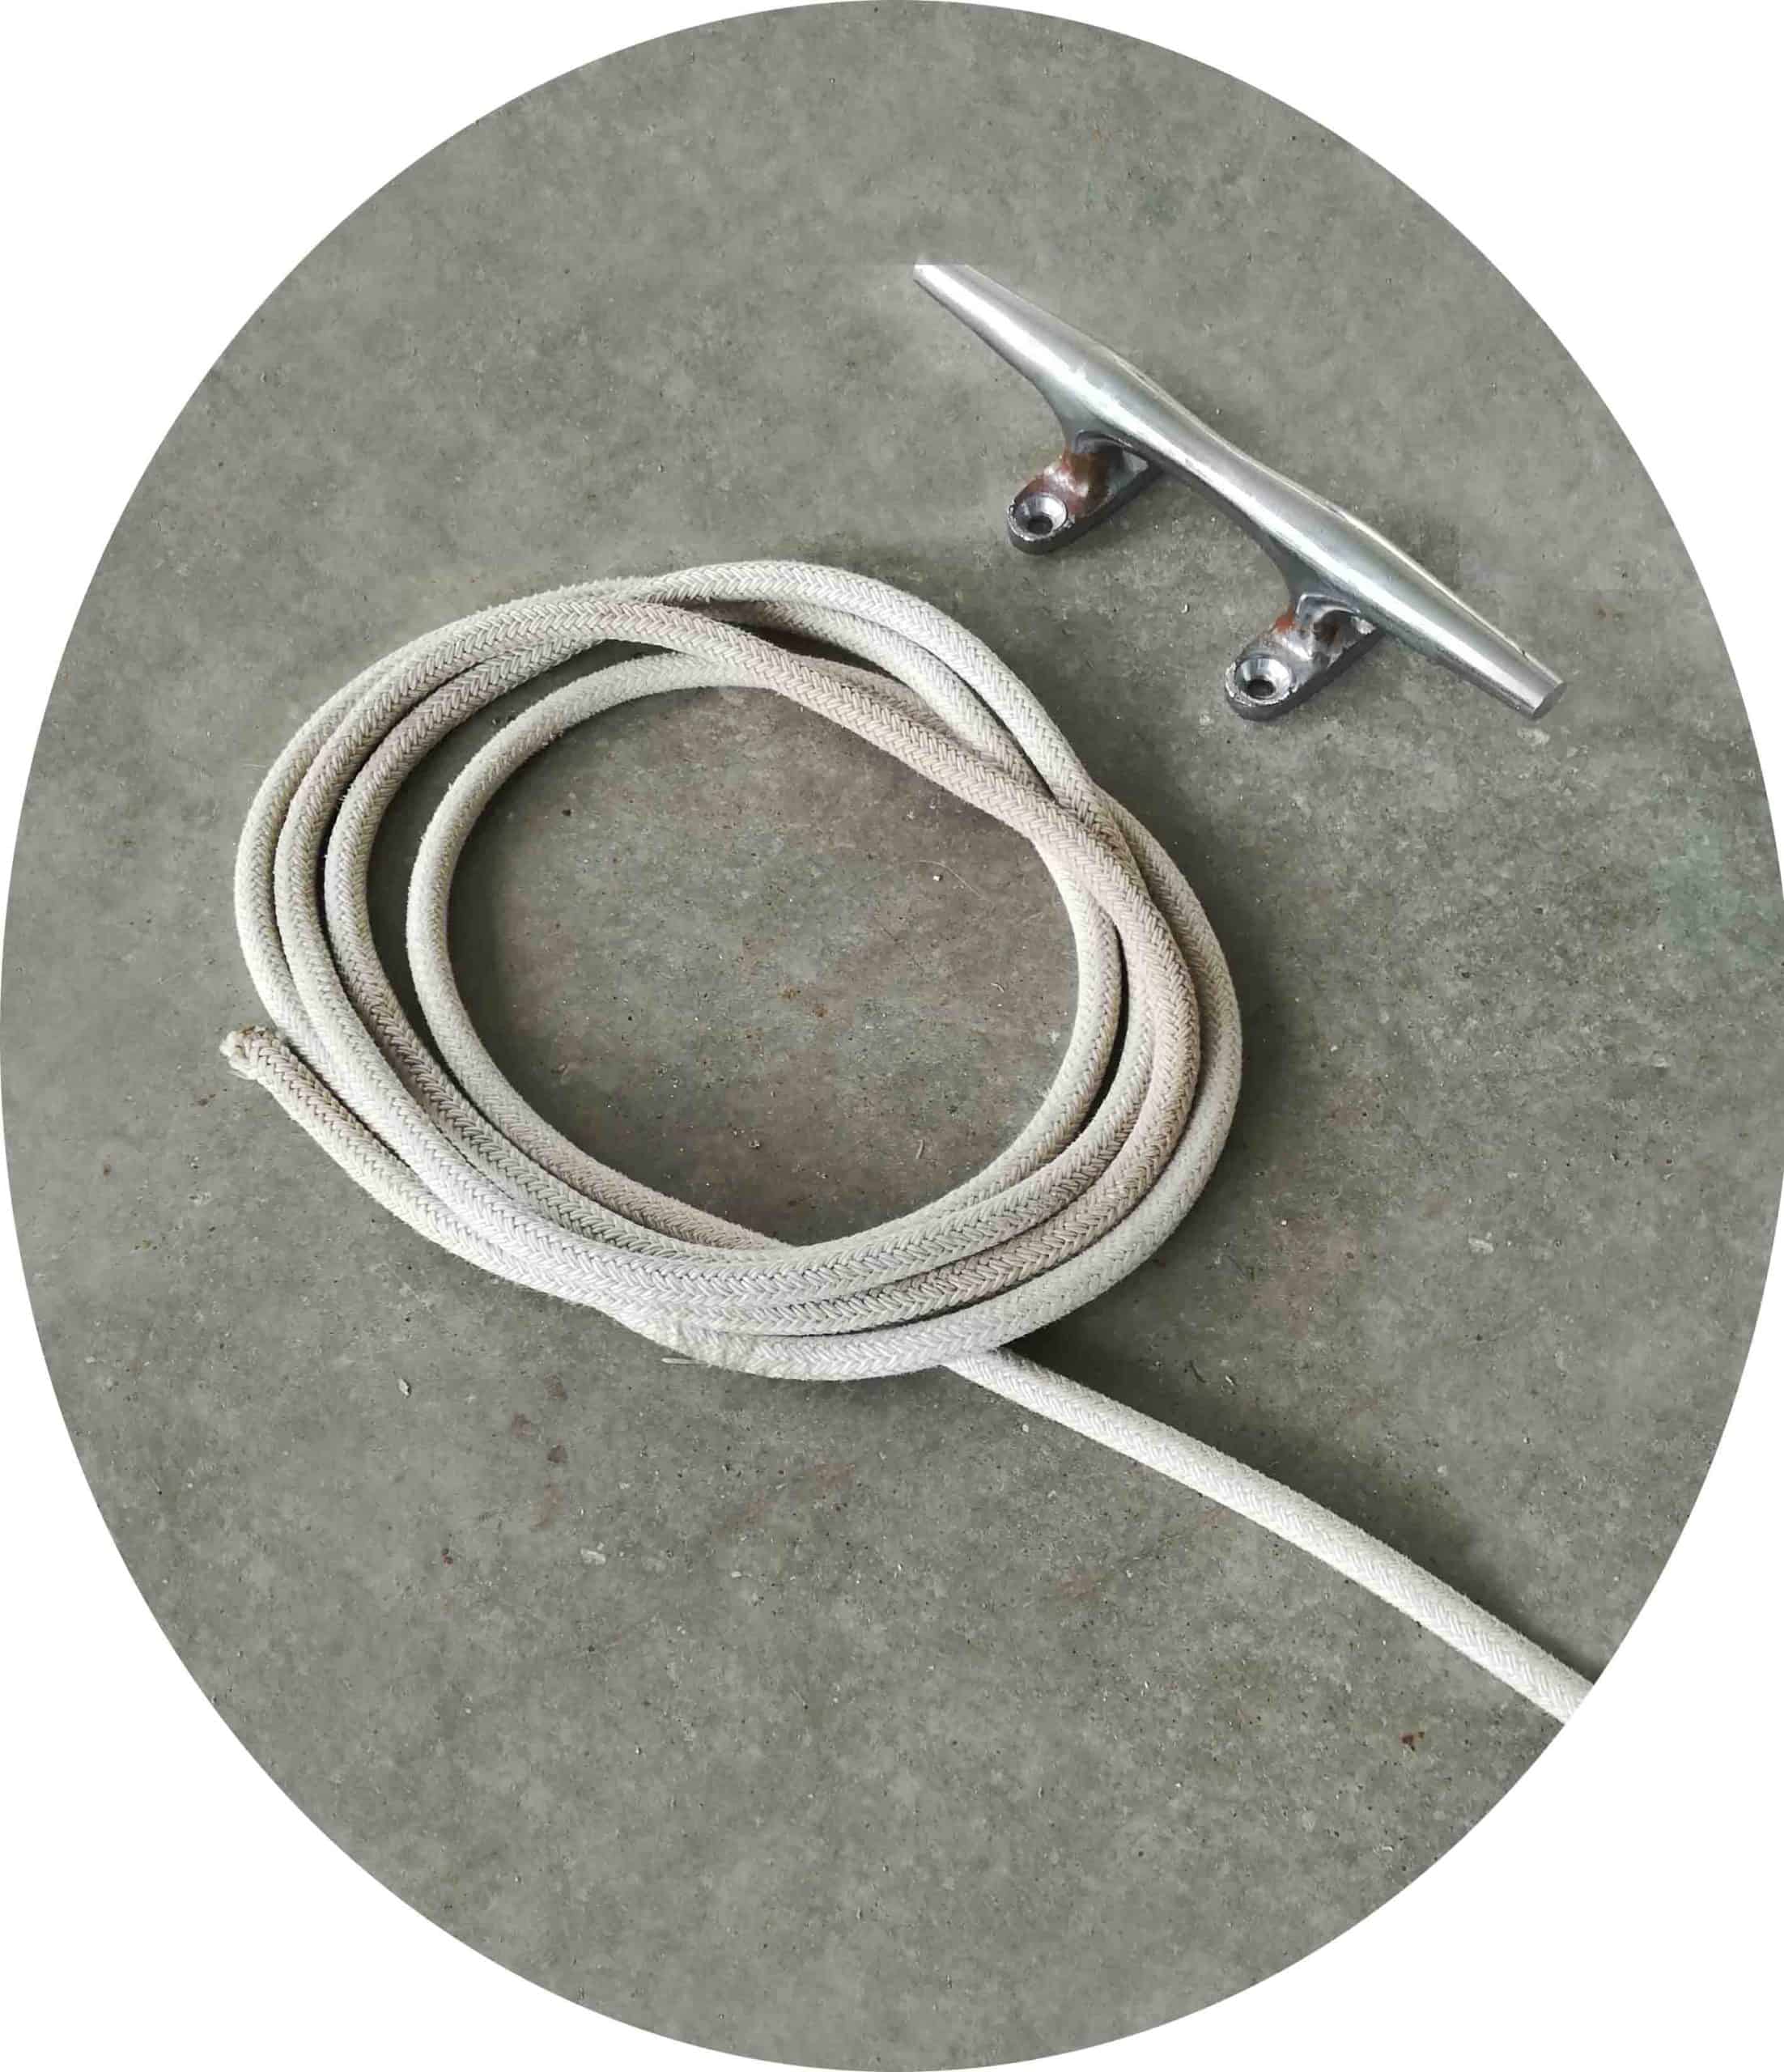
To toss a line and nail the dock cleat every time, select a long enough dock line to reach from the boat cleat, out to the dock cleat or post, and back. In this example, we are using the Stern Line.
Start by passing the eye of the line through the boat stern deck cleat, then secure the balance of the eye over the cleat horns. If you’re on the bow, pass the line under the bow rail.
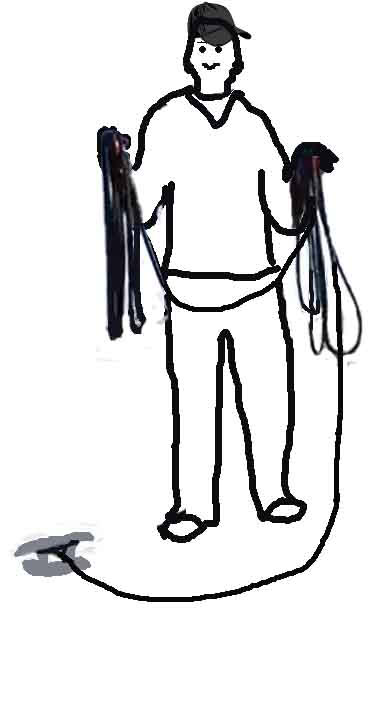
From the cleated end of the line, with your left hand, pick up and hold the line with a few feet of slack.
With your right hand, draw out an arm’s length of line, then place that length in the left hand.
Draw out a second arm’s length of line, then place it on top of the first in the left hand.
Draw out a third length of line in front of you and hold it tight with the right hand,
Then lower/drop the second length between your two hands.
Combined, this length of line should be enough for a typical stern line toss. For a spring line or bow line toss, you’ll need a second or third loop in each hand.
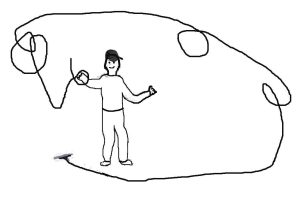
As the boat nears the target dock cleat, hold the first loop in your left hand and the third loop in your right hand, plus hold the end of the line tightly in your right hand. Hold/push your knees against the cockpit side for stability.
Once opposite the dock cleat, lower your hands to your stomach, then throw your arms up with hands apart and outward. Aim up and beyond the dock cleat. Release the two loops, so that the line lands beyond the cleat on the dock.
With the end still tightly held in your right hand, gently draw in the slack using hand over hand to hook/catch the line under the dock cleat horn. Draw in the rest of the slack leaving just enough slack for the boat to pivot. Secure to the stern boat cleat with a figure eight cleat hitch.
Practice this toss/lasso routine, while still tied at your dock where there’s no pressure. Practice until you nail it right—every time. Adjust the size and number of loops to suit your dock and boat.
Still in your slip, cast off some of your lines, then practice tossing your loop tossing from a distance, as if the boat were approaching/entering your slip.
Now do it for real. If you miss, don’t panic, tie up and practice some more.
Using this tossing procedure along with Dawson’s Boat Docking Lessons, will help you take control of your docking to eliminate the fear, anxiety and panic.
“Knowing how” makes all the difference.